

Getting Started with Kiosk Pro
Getting Started with Kiosk Pro
Select an app version:
 Lite
Lite

 Basic, Plus or Enterprise
1 Create a site
Tap Launch & Manage Kiosk Site from the app settings to sign up for a subscription. Then you can login to your management dashboard to create kiosk content using a no-code site builder. Add image galleries, video & audio players, a contact form, and more.

2 Review the app settings
Kiosk Pro allows you to configure how your presentation is displayed and the interactions available to visitors. Set an idle timer, restrict domains, or hide user interface elements.
If you’re not sure what a specific setting does, tap the blue info icon next to it in the settings menu. Or check out the settings articles in our Knowledge Base to get a complete explanation of each feature available.
3 Start the presentation
Once your content is built and settings are configured, tap Launch & Manage Kiosk Site in the top left corner of the main settings menu, then Launch next to your site to display your content.
4 Lock the device to Kiosk Pro
Since Apple devices are primarily designed for personal use, third-party apps like Kiosk Pro are unable to ignore the physical Home button or to prevent access to the Notification Center shown when swiping from the top of the screen.
These standard functions can allow visitors to exit the app, but can be blocked at the system level by using either iOS’s Guided Access feature or Single App Mode. In either of these modes, the device is locked to only show Kiosk Pro and your content so no distractions are available to visitors.

1 Define a homepage
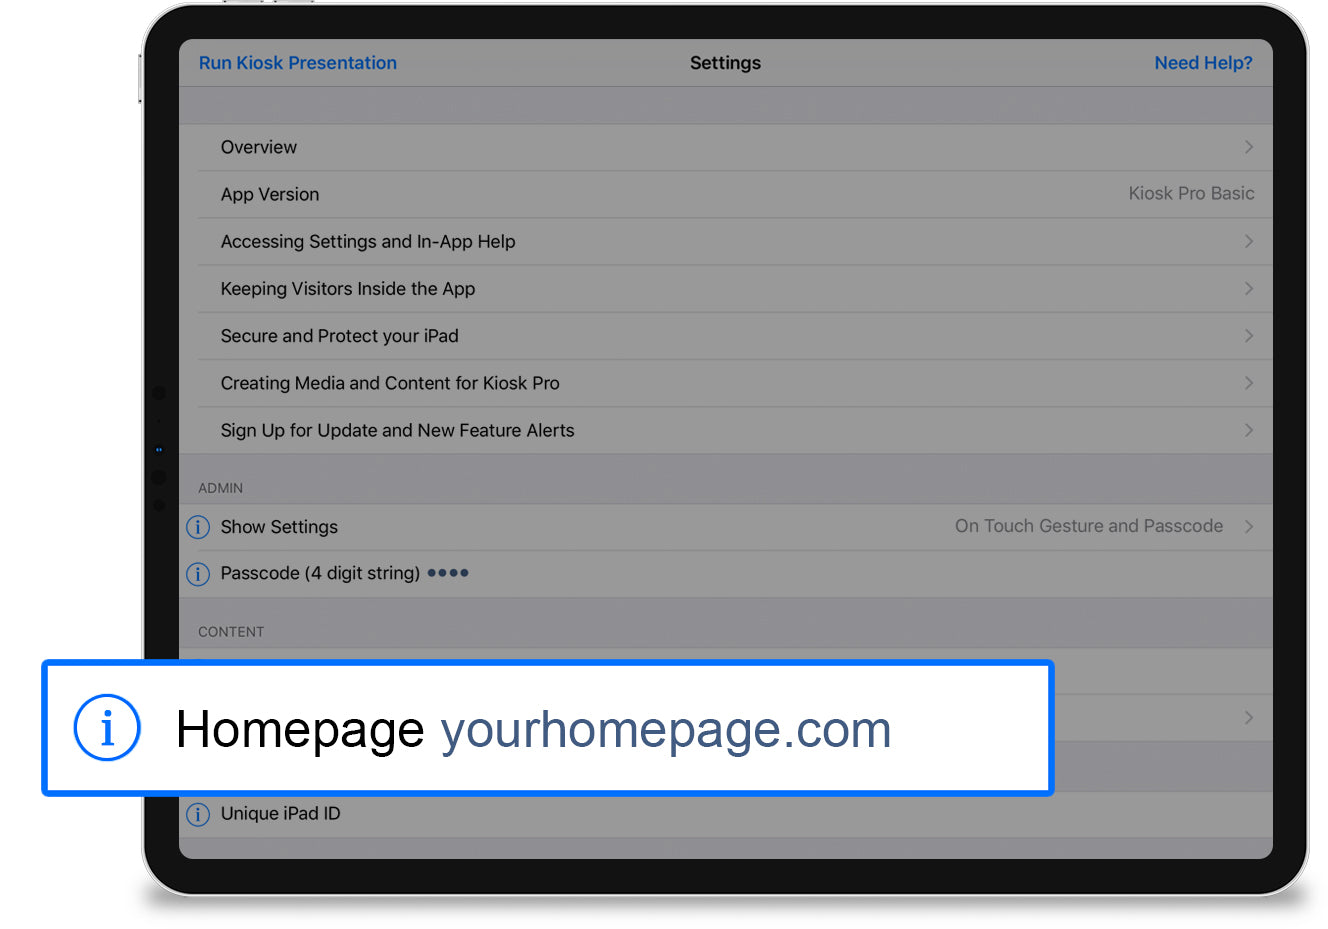
Enter a web address in the Homepage setting to define what your kiosk will display. You can display web-friendly content like a webpage, PDF or video.
You can also store files locally in Kiosk Pro by transferring them to the iPad with iTunes. Then you can enter a filepath in the Homepage setting instead of a URL.
2 Review the settings
Kiosk Pro allows you to configure how your presentation is displayed and the interactions available to visitors. Set an idle timer, restrict domains, or hide user interface elements.
If you’re not sure what a specific setting does, tap the blue info icon next to it in the settings menu. Or check out the settings articles in our Knowledge Base to get a complete explanation of each feature available.
3 Start the presentation
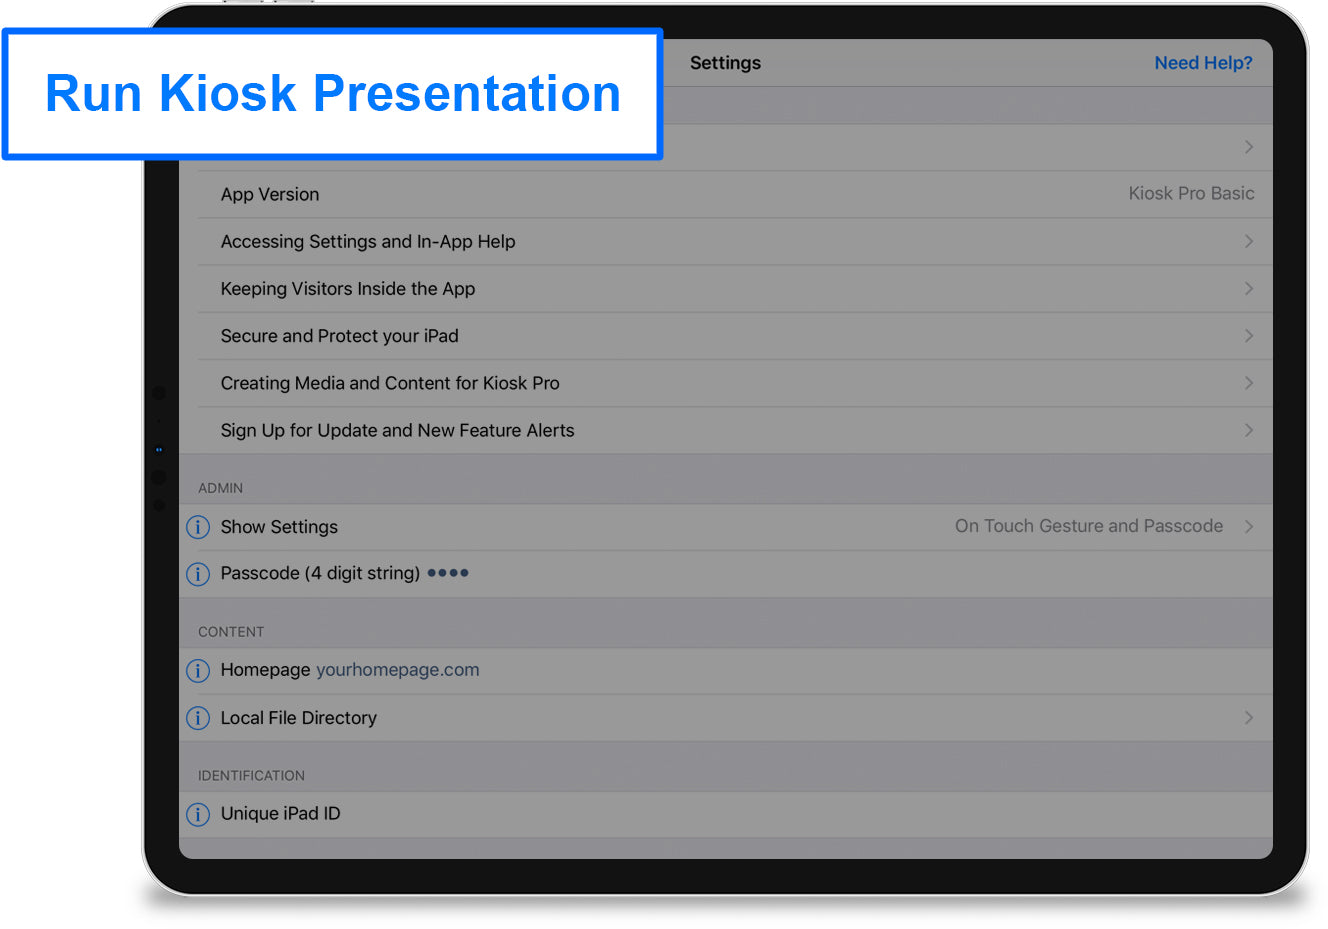
Once your settings are configured, tap Run Kiosk Presentation in the top left corner of the main settings menu to display your content.
4 Lock the device to Kiosk Pro
Since Apple devices are primarily designed for personal use, third-party apps like Kiosk Pro are unable to ignore the physical Home button or to prevent access to the Notification Center shown when swiping from the top of the screen.
These standard functions can allow visitors to exit the app, but can be blocked at the system level by using either iOS’s Guided Access feature or Single App Mode. In either of these modes, the device is locked to only show Kiosk Pro and your content so no distractions are available to visitors.
We're here for you
Support is built right into our apps with documentation of every feature and direct access to our extensive Knowledge Base at any time, 24-7. Have additional questions? Our support team is happy to help.